

Most door stops are installed to prevent the door handle or panel from striking a wall. Over time, the installation environment and material quality affect how easy or difficult the removal process becomes. Older door stops might have rusted screws, dried caulk, or stripped fasteners that require more attention. Newer models, such as D&D’s stainless-steel door stops made from SUS304 and SUS316, are easier to maintain and remove because they resist corrosion and maintain structural stability over years of use. Understanding the condition of the existing stop helps determine whether basic hand tools are sufficient or whether additional steps are needed.
Before beginning the removal process, it is important to evaluate the type of door stop installed. Wall-mounted stops are commonly attached with one or two screws; floor-mounted stops may involve concealed anchors; hinge-pin stops sit between the door hinges; and magnetic door stops have multiple components that must be detached in sequence. For the sake of safe practice, identifying the installation method prevents unintentional damage to drywall, tile, wood flooring, or the door leaf itself. Many homeowners make the mistake of pulling too aggressively, especially on floor stops attached with adhesive or anchors, which can cause chips, cracks, or uneven surfaces that later require repair.
Section: Preparation Before Removing a Door Stop
Good preparation not only ensures a smooth workflow but also protects surrounding surfaces. Begin by clearing the area around the door to avoid tripping hazards. If you are working near painted walls, consider applying painter’s tape around the base of the stop to reduce the risk of accidental scratches. When removing a floor-mounted stop installed on tile, marble, or laminated flooring, soft padding or a microfiber cloth can help cushion tools and prevent marks. This initial setup step is crucial, especially in commercial or hospitality environments where flooring finishes must remain protected.
Some door stops include rubber tips, springs, magnetic catches, or decorative covers. These components can come loose during removal, so it’s best to have a small container nearby to keep screws and parts organized. Though these small details may seem minor, missing hardware pieces can cause difficulty if the stop needs to be reinstalled or if a new product requires similar fasteners.
For homeowners planning to replace the old stop with a new D&D wall, floor, or magnetic door stop, having the new product ready is beneficial. D&D door stops come in stainless steel 304 and 316 options, ensuring high resistance to corrosion, an elegant finish, and enhanced durability suitable for both residential and commercial applications. Preparing the new hardware before removal helps you evaluate whether existing holes or anchors can be reused.
Section: Removing a Wall-Mounted Door Stop
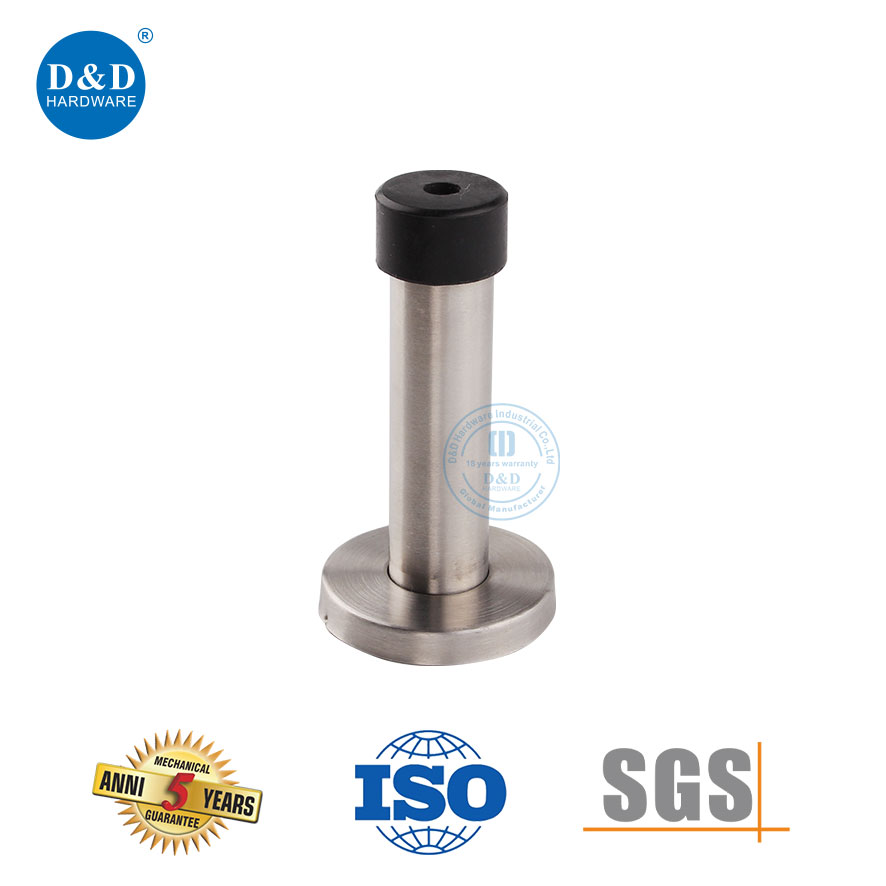
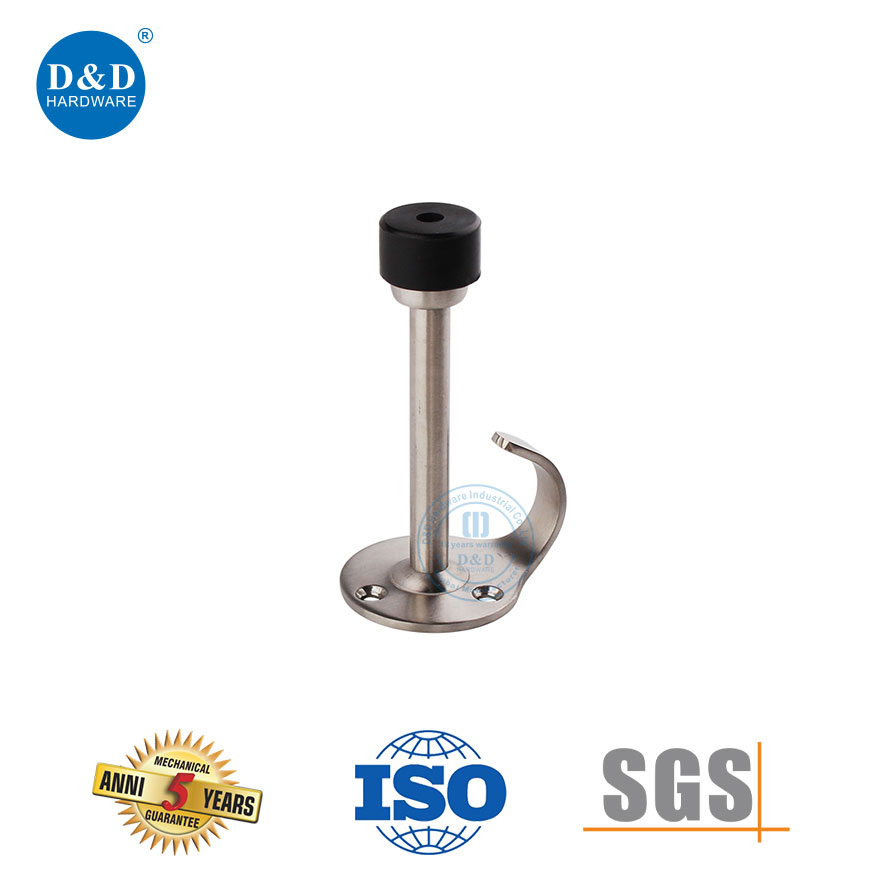
Wall-mounted door stops are among the easiest to remove, making them a common DIY task. Most consist of a base plate attached with screws and a rubber or stainless-steel projection that absorbs the door impact. Begin by using a screwdriver that matches the screw head—Phillips, Torx, or flathead. Using the wrong tool risks stripping the screws, which complicates removal. Hold the door stop firmly while loosening the screws to prevent it from rotating against the wall surface. Once the screws are removed, gently pull the stop away from the wall. If adhesive or caulk is present, use a thin plastic scraper to carefully detach the base without digging into the drywall.
When paint has built up around the base over time, it may create a seal that resists removal. Rather than applying excessive force, carefully score the edge with a utility knife. This step reduces peeling or cracking of the wall finish. After removing the stop, inspect the screw anchors; if they are still firmly embedded, they may be left in place if you will mount a new stop in the same location. Otherwise, remove them using needle-nose pliers and fill the holes with wall putty.
Homeowners upgrading to D&D’s modern wall-mounted stops will appreciate their concealed fastening design and corrosion-resistant structure. The stainless-steel exterior ensures long-term reliability and complements updated interior décor.
Section: Removing a Floor-Mounted Door Stop
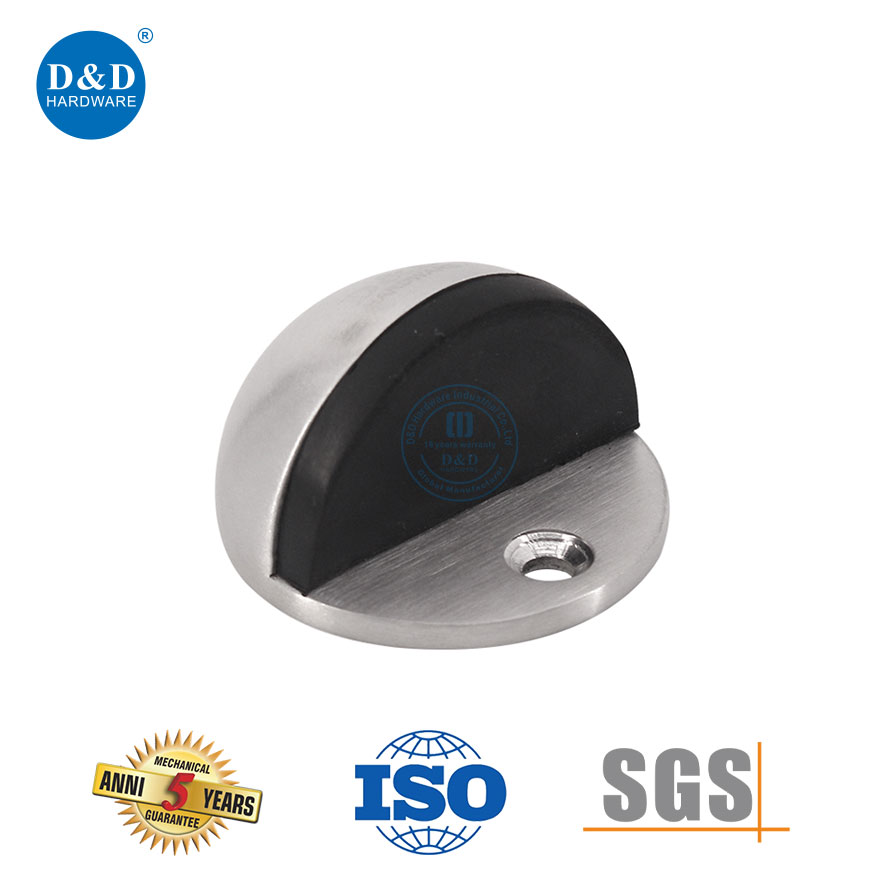
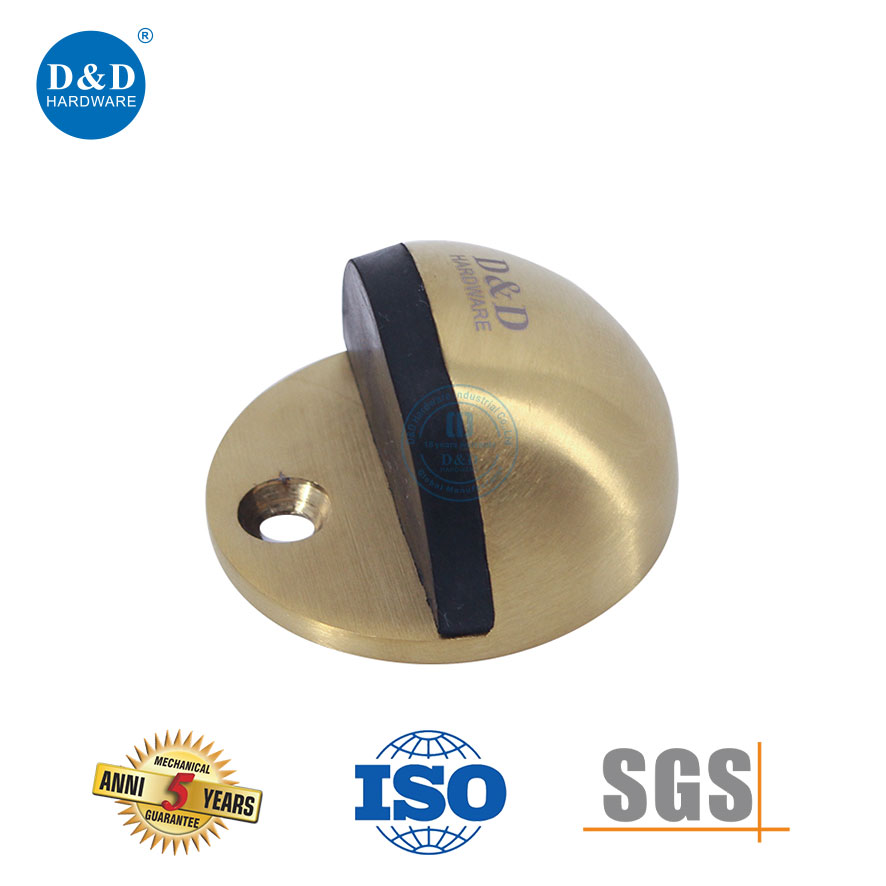
Floor-mounted door stops require a slightly different approach because they are fixed into flooring materials like tile, wood, or concrete. Their base may have exposed screws or a concealed mounting plate hidden beneath a decorative cap. Start by checking whether the top has a removable cover—many premium designs, including several D&D floor stop models, use this style to keep the installation aesthetically clean. If a cover is present, gently lift it with a thin pry tool or by hand.
Once exposed, most bases have two to three screws. Unscrew them in a steady, controlled motion. If the stop is installed on a tile or polished floor, avoid wobbling the screwdriver, as slipping can scratch the surface. Some floor stops use anchors drilled into the subfloor; once the screws are removed, you can lift the stop straight upward. The anchor sleeves may remain in the floor. If replacing the stop with a new model and the drill spacing matches, you can reuse them; if not, remove them by gently pulling and then patch the holes appropriately.
Occasionally, a floor-mounted stop may be installed with strong construction adhesive instead of screws. In such cases, carefully work your way under the base using a plastic scraper or non-marring pry tool. Apply gradual upward pressure rather than forceful prying. For stubborn adhesive, mild heat applied with a hair dryer can soften the bond. Avoid metal tools, especially on delicate flooring, unless absolutely necessary.
Replacing a removed floor stop with D&D’s stainless-steel floor-mounted models ensures a solid, rust-free upgrade suitable for heavy-traffic and commercial environments. Their stability, weight distribution, and premium finishing make the transition seamless.
Section: Removing a Hinge-Pin Door Stop
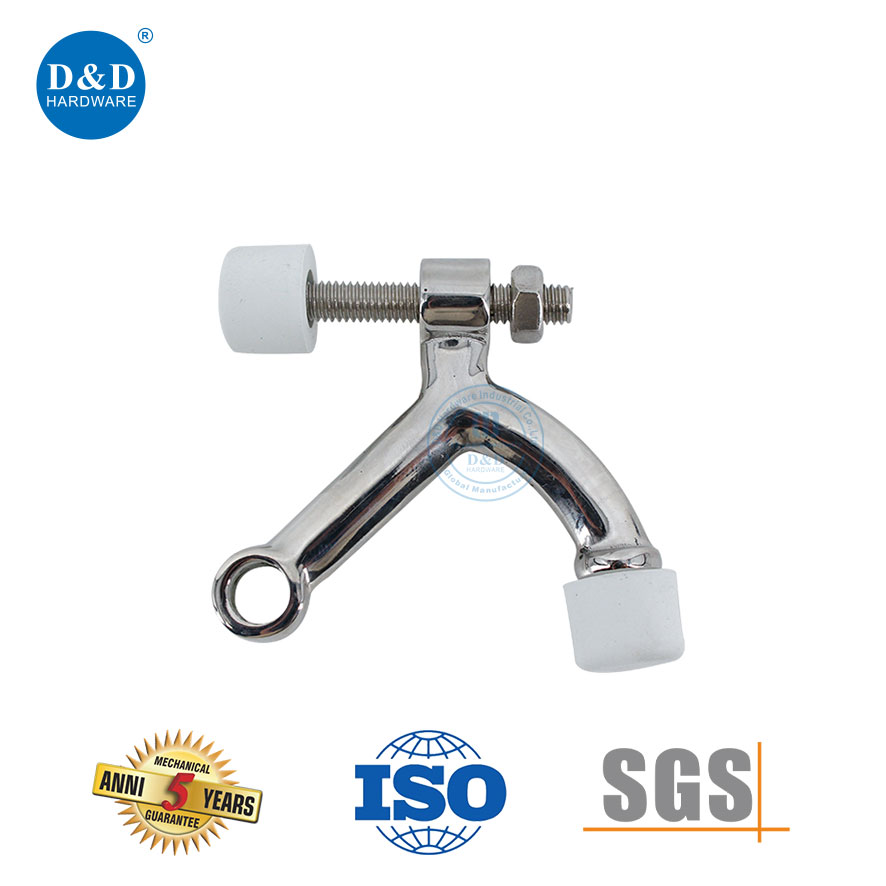
Hinge-pin door stops are a popular choice in some homes because they do not require drilling into walls or floors. They sit between the hinge leaves and use rubber tips to cushion the door swing. Removing them is generally straightforward, but it requires attention to hinge alignment. Begin by partially opening the door to relieve pressure on the hinge. Using a hinge pin removal tool or a simple punch, tap the hinge pin upward. Once loose, pull it out carefully. The hinge-pin stop will come off with the pin or fall free when it is no longer held in place.
If the hinge pin has accumulated rust or debris, a small amount of lubricant can make removal easier. Avoid bending the pin, as this can affect door alignment after reinstallation. Once the stop is removed, clean the hinge area before inserting the pin back. If upgrading to a magnetic or floor-mounted stop from D&D, removing the hinge-pin stop frees the door from the restricted swing and enables a more modern and durable solution.
Section: Removing a Magnetic Door Stop
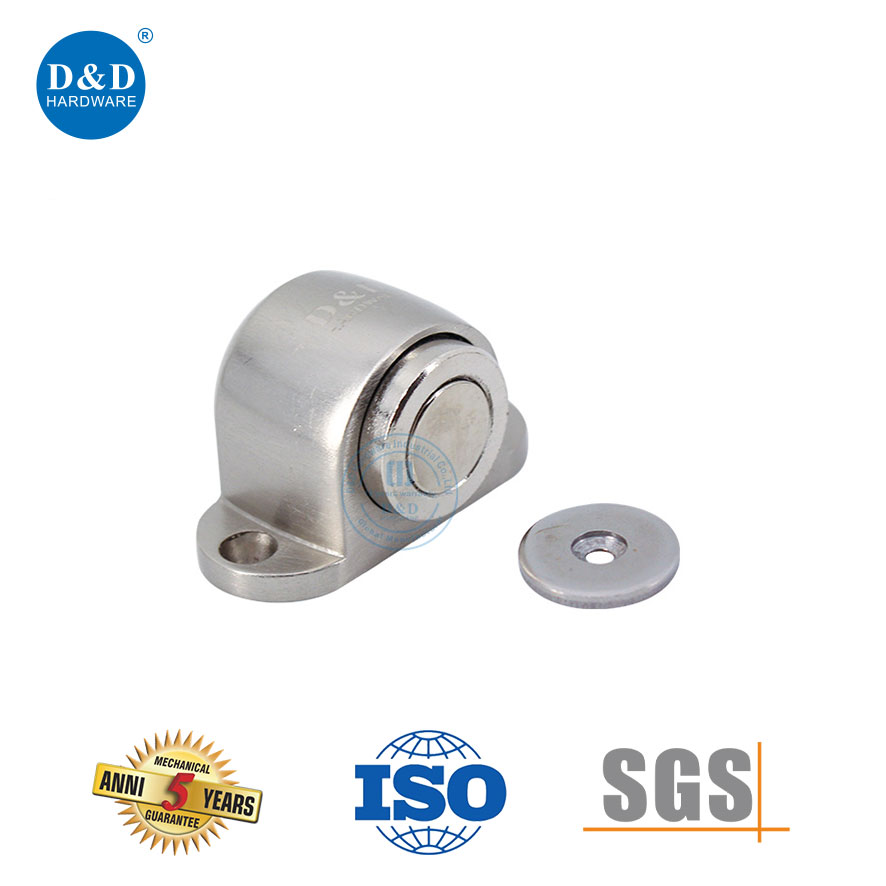
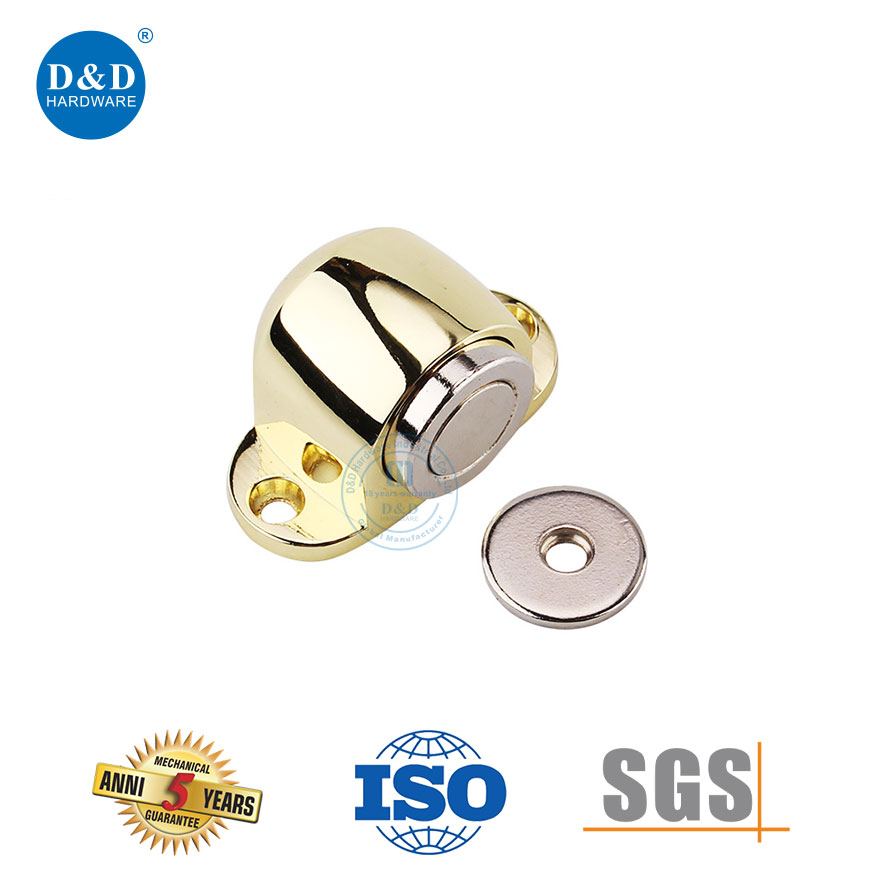
Magnetic door stops typically consist of two components: the catch on the door and the magnet or base on the wall or floor. Detaching requires removing both pieces in the correct sequence. Begin by identifying the screws on each side. Some magnetic stops have concealed screws behind decorative plates. Carefully twist or pull the cover to expose the screws. Remove the catch from the door first; this step prevents the magnet from pulling while you work on the second piece. Next, detach the magnet housing from the wall or floor using the appropriate screwdriver.
In some installations, magnetic bases are attached with both screws and adhesive for extra stability. If adhesive is present, gently pry the base using a plastic tool. Avoid pulling directly, as this may damage paint or wall finish. Once detached, clean the surface thoroughly before installing a new model.
Magnetic stops from D&D are designed with strong holding force, corrosion-resistant stainless-steel materials, and sleek profiles suitable for modern architectural designs. Upgrading to one of these models after removal provides smoother operation and enhanced durability.
Section: Aftercare, Surface Repair, and Upgrading Your Door Stop
Once the old door stop is removed, the next step is refreshing the surface to prepare for installation of a new one. Wall holes can be filled using putty, then sanded smooth. Floor holes may require wood filler or tile patching compounds depending on the room. Adhesive residue should be gently removed using adhesive remover or rubbing alcohol to avoid discoloration. This stage also provides an ideal opportunity to realign the door swing if needed.
Because door stops are functional hardware that influence daily door operation, selecting a high-quality replacement ensures long-term reliability. D&D Hardware offers a wide selection of stainless-steel door stops—wall-mounted, floor-mounted, magnetic, and concealed styles—designed to perform well in residential, commercial, and industrial environments. Built from SUS304 or SUS316 stainless steel, they withstand humidity, corrosion, and frequent use far better than zinc alloy or low-grade alternatives. Their refined finishing, durability, and compatibility with modern interiors make them ideal for upgrading after the old stop has been removed.